GraphRAG实战记录
Welcome to GraphRAG (microsoft.github.io)
Get Started (microsoft.github.io)官方运行指南
环境配置
python环境
pip3 install graphrag此处后续补充
模型配置
此处需要LLM也需要embedding,所以既需要Ollama也需要LM Studio
Ollama模型,参考此处本地模型部署。LLMs的本地部署与微调实战 - 欢迎来到我的记录平台 (whtblog.cn)
embedding模型,在LM Studio内下载。LM Studio需要使用代理,用proxifier软件对LM专一代理即可,clash等只能代理网页。具体使用方法参考B站视频比tun模式更智能Proxifier设置多软件网络代理_哔哩哔哩_bilibili

此后即可在LM Studio中进行embedding模型下载部署及服务器启动。
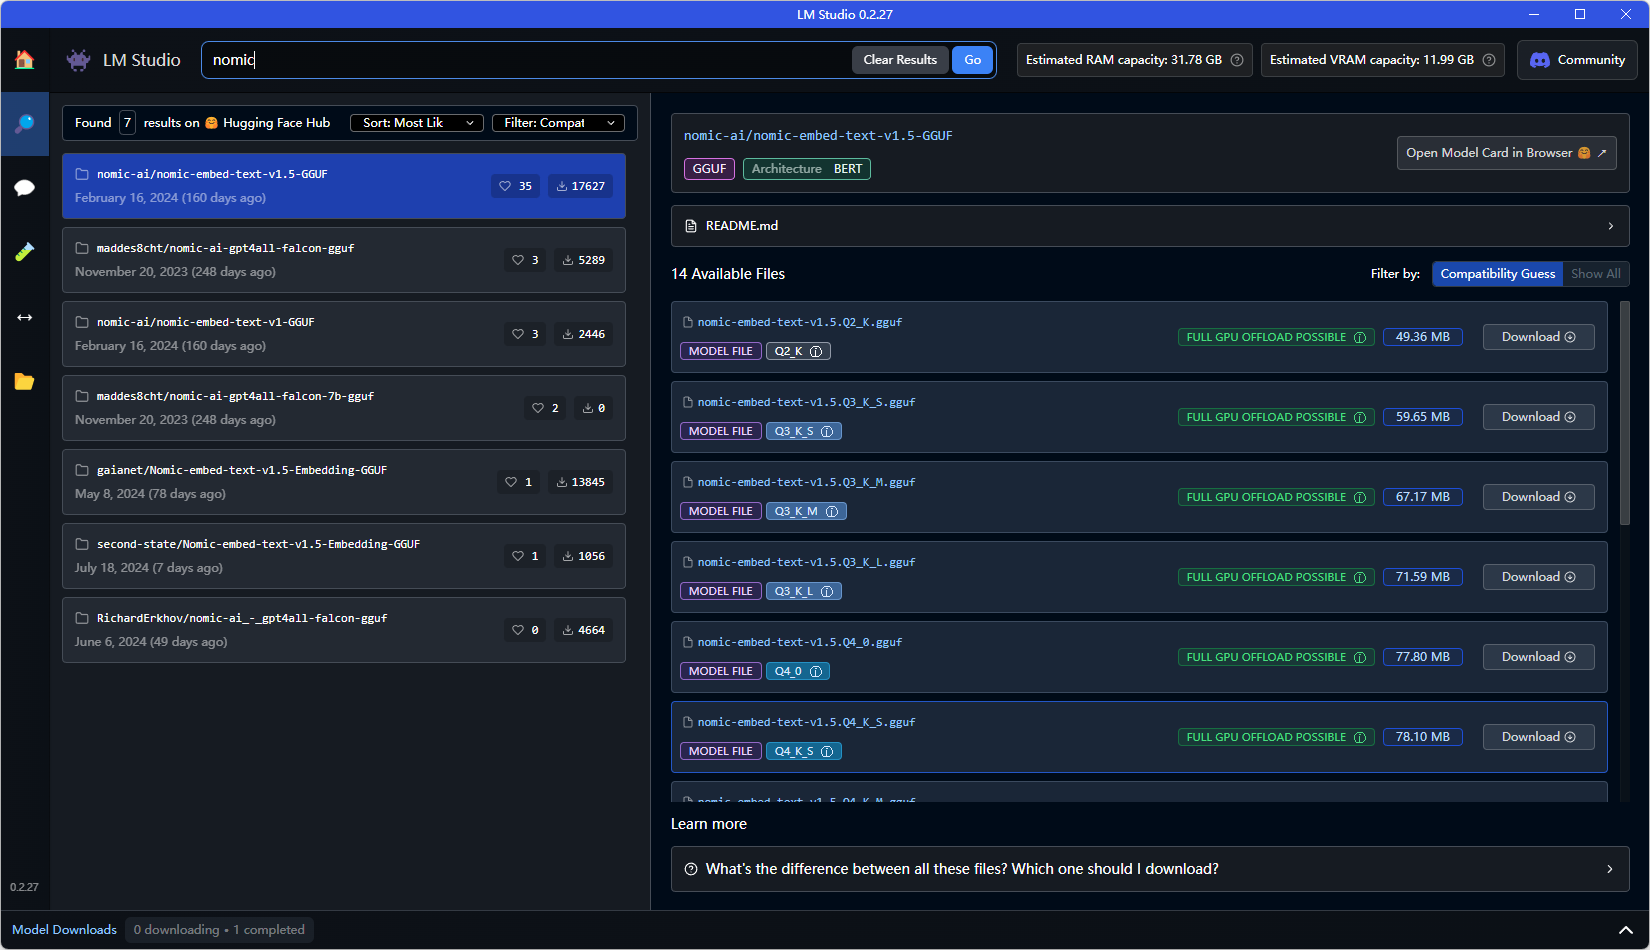
在此界面下载相应的embedding模型,具体选择(后续补充),在服务器启动后记下下边长框内的地址即可,后续需要使用。

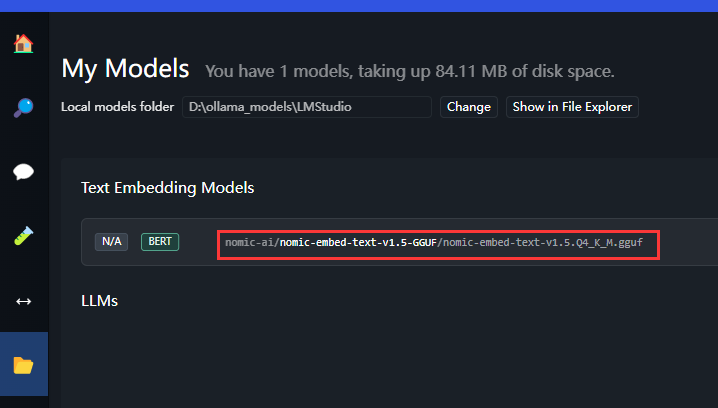
除地址外,还需要找到embedding模型的名字如下图,记下需要填。
至此,在运行graphRAG前需要的软件均完成配置,在使用GraphRAG时只需要后台运行Ollama并启动LM Studio的服务器即可。
GraphRAG运行
pip3 install graphrag直接 pip install 之后再进行操作
mkdir -p ./ragtest/input新建一个input文件夹,这里边是放训练用的txt文件用的。
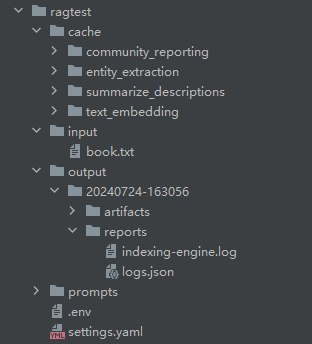
python -m graphrag.index --init --root ./ragtest初始化项目,创建一个ragtest文件夹,里边放进去项目所需要的文件,文件结构如下,
cache中为运算过程中生成的文件。
input为训练用的txt文件。
output为输出的文件和log文件。
prompts为提示词文件(项目本身有的,也可以自行调整)。
.env文件为环境配置文件,可以设定需要的api_key等。
settings.yaml为最重要的配置文件,设置相应的模型等,会在下方进行叙述。
接下来对settings.yaml进行介绍,内容如下:
在刚刚下载时会有不同,进行修改即可。
encoding_model: cl100k_base
skip_workflows: []
llm:
api_key: ${GRAPHRAG_API_KEY} #此处对应相应的.env文件内容。
type: openai_chat # or azure_openai_chat 此处不需要更改,ollama跟openai的类似,用这个即可。
model: gemma2 #填上ollama中下载的模型
model_supports_json: true # recommended if this is available for your model.
# max_tokens: 4000
# request_timeout: 180.0
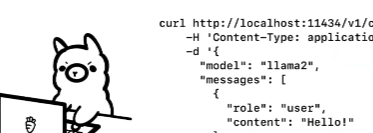
api_base: http://localhost:11434/v1 #此处为ollama确定的,可以进去ollama官网查看,下方会附图
# api_version: 2024-02-15-preview
# organization: <organization_id>
# deployment_name: <azure_model_deployment_name>
# tokens_per_minute: 150_000 # set a leaky bucket throttle
# requests_per_minute: 10_000 # set a leaky bucket throttle
# max_retries: 10
# max_retry_wait: 10.0
# sleep_on_rate_limit_recommendation: true # whether to sleep when azure suggests wait-times
# concurrent_requests: 25 # the number of parallel inflight requests that may be made
parallelization:
stagger: 0.3
# num_threads: 50 # the number of threads to use for parallel processing
async_mode: threaded # or asyncio
embeddings:
## parallelization: override the global parallelization settings for embeddings
async_mode: threaded # or asyncio
llm:
api_key: ${GRAPHRAG_API_KEY} #.env文件中配置
type: openai_embedding # or azure_openai_embedding 这个也是不用改,graphrag只能指定某几个
model: nomic-ai/nomic-embed-text-v1.5-GGUF/nomic-embed-text-v1.5.Q4_K_M.gguf #LM Studio的embedding模型名称,上文有提到
api_base: http://localhost:1234/v1 #LM Studio内服务器的embedding模型地址,上文也有提到。
# api_version: 2024-02-15-preview
# organization: <organization_id>
# deployment_name: <azure_model_deployment_name>
# tokens_per_minute: 150_000 # set a leaky bucket throttle
# requests_per_minute: 10_000 # set a leaky bucket throttle
# max_retries: 10
# max_retry_wait: 10.0
# sleep_on_rate_limit_recommendation: true # whether to sleep when azure suggests wait-times
# concurrent_requests: 25 # the number of parallel inflight requests that may be made
# batch_size: 16 # the number of documents to send in a single request
# batch_max_tokens: 8191 # the maximum number of tokens to send in a single request
# target: required # or optional
chunks:
size: 300
overlap: 100
group_by_columns: [id] # by default, we don't allow chunks to cross documents
input:
type: file # or blob
file_type: text # or csv
base_dir: "input"
file_encoding: utf-8
file_pattern: ".*\\.txt$"
cache:
type: file # or blob
base_dir: "cache"
# connection_string: <azure_blob_storage_connection_string>
# container_name: <azure_blob_storage_container_name>
storage:
type: file # or blob
base_dir: "output/${timestamp}/artifacts"
# connection_string: <azure_blob_storage_connection_string>
# container_name: <azure_blob_storage_container_name>
reporting:
type: file # or console, blob
base_dir: "output/${timestamp}/reports"
# connection_string: <azure_blob_storage_connection_string>
# container_name: <azure_blob_storage_container_name>
entity_extraction:
## llm: override the global llm settings for this task
## parallelization: override the global parallelization settings for this task
## async_mode: override the global async_mode settings for this task
prompt: "prompts/entity_extraction.txt"
entity_types: [organization,person,geo,event]
max_gleanings: 0
summarize_descriptions:
## llm: override the global llm settings for this task
## parallelization: override the global parallelization settings for this task
## async_mode: override the global async_mode settings for this task
prompt: "prompts/summarize_descriptions.txt"
max_length: 500
claim_extraction:
## llm: override the global llm settings for this task
## parallelization: override the global parallelization settings for this task
## async_mode: override the global async_mode settings for this task
# enabled: true
prompt: "prompts/claim_extraction.txt"
description: "Any claims or facts that could be relevant to information discovery."
max_gleanings: 0
community_report:
## llm: override the global llm settings for this task
## parallelization: override the global parallelization settings for this task
## async_mode: override the global async_mode settings for this task
prompt: "prompts/community_report.txt"
max_length: 2000
max_input_length: 8000
cluster_graph:
max_cluster_size: 10
embed_graph:
enabled: false # if true, will generate node2vec embeddings for nodes
# num_walks: 10
# walk_length: 40
# window_size: 2
# iterations: 3
# random_seed: 597832
umap:
enabled: false # if true, will generate UMAP embeddings for nodes
snapshots:
graphml: false
raw_entities: false
top_level_nodes: false
local_search:
# text_unit_prop: 0.5
# community_prop: 0.1
# conversation_history_max_turns: 5
# top_k_mapped_entities: 10
# top_k_relationships: 10
# max_tokens: 12000
global_search:
# max_tokens: 12000
# data_max_tokens: 12000
# map_max_tokens: 1000
# reduce_max_tokens: 2000
# concurrency: 32
其他内容会在后续实验中进行补充。
在以上环境、模型、.env、settings.yaml配置好后即可运行下方代码运行。
python -m graphrag.index --root ./ragtest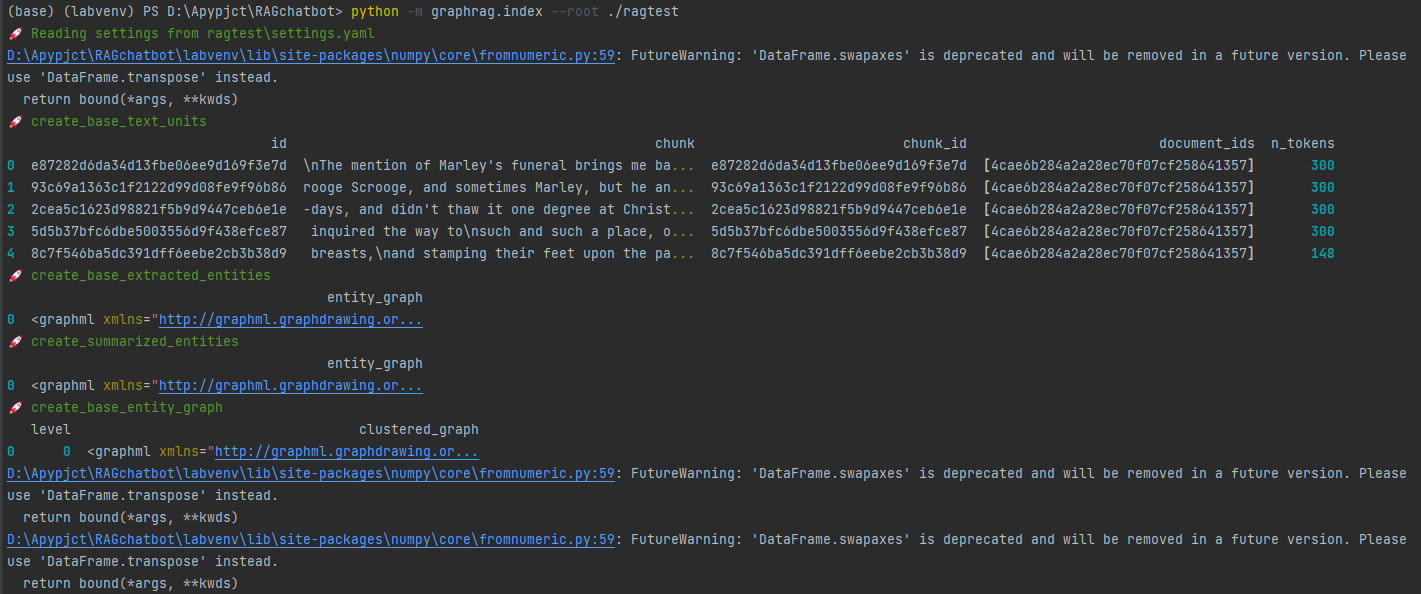
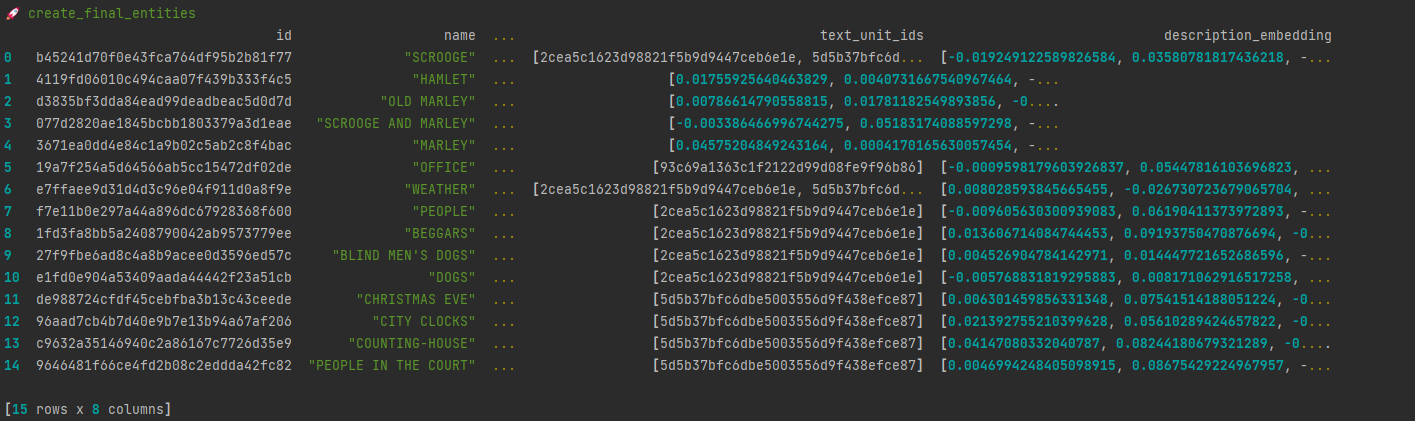
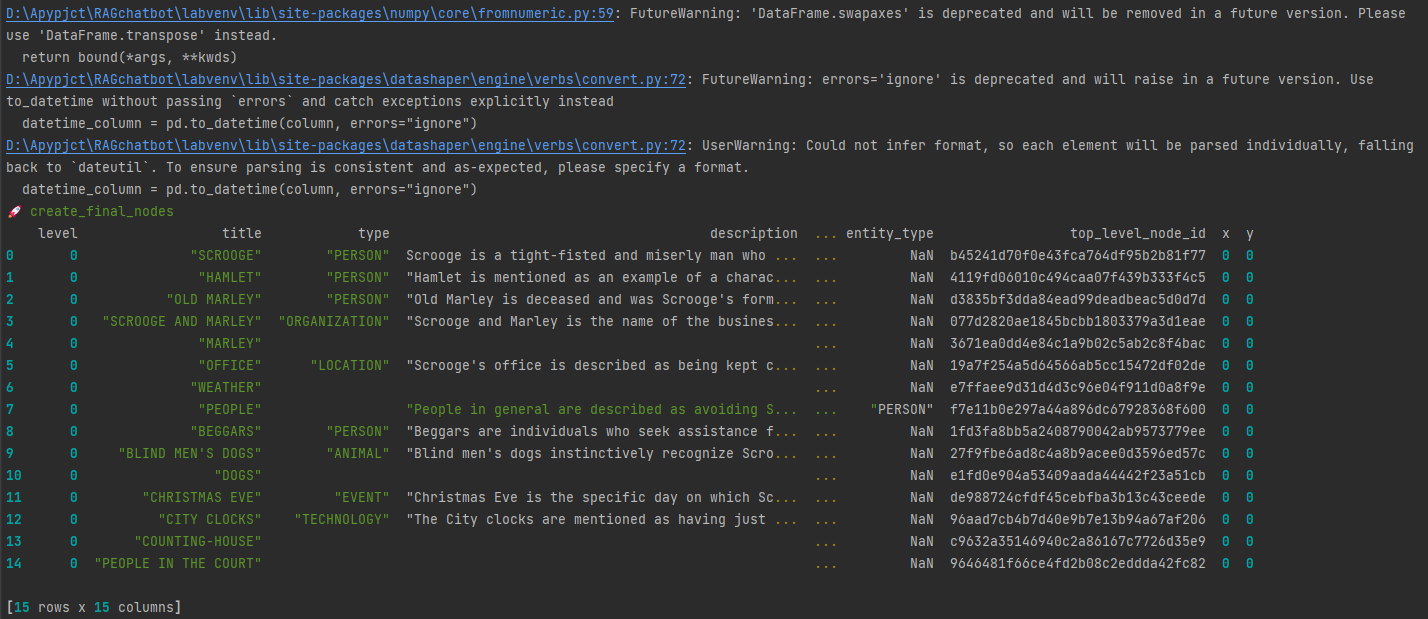
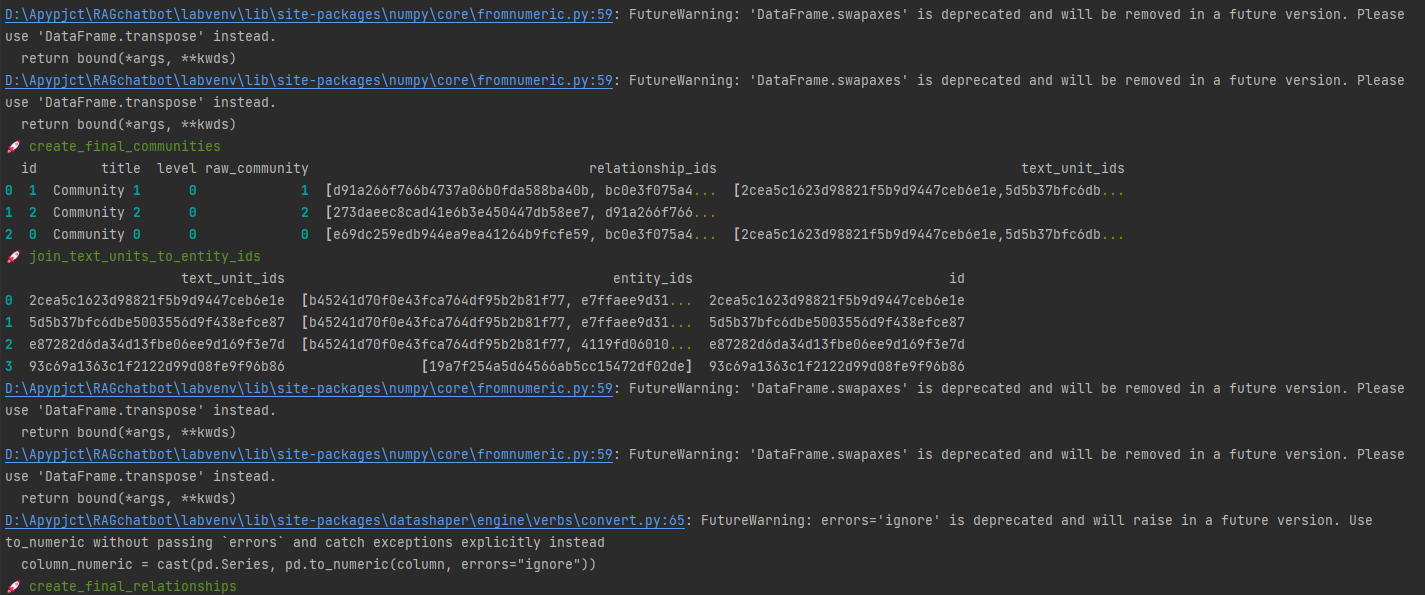
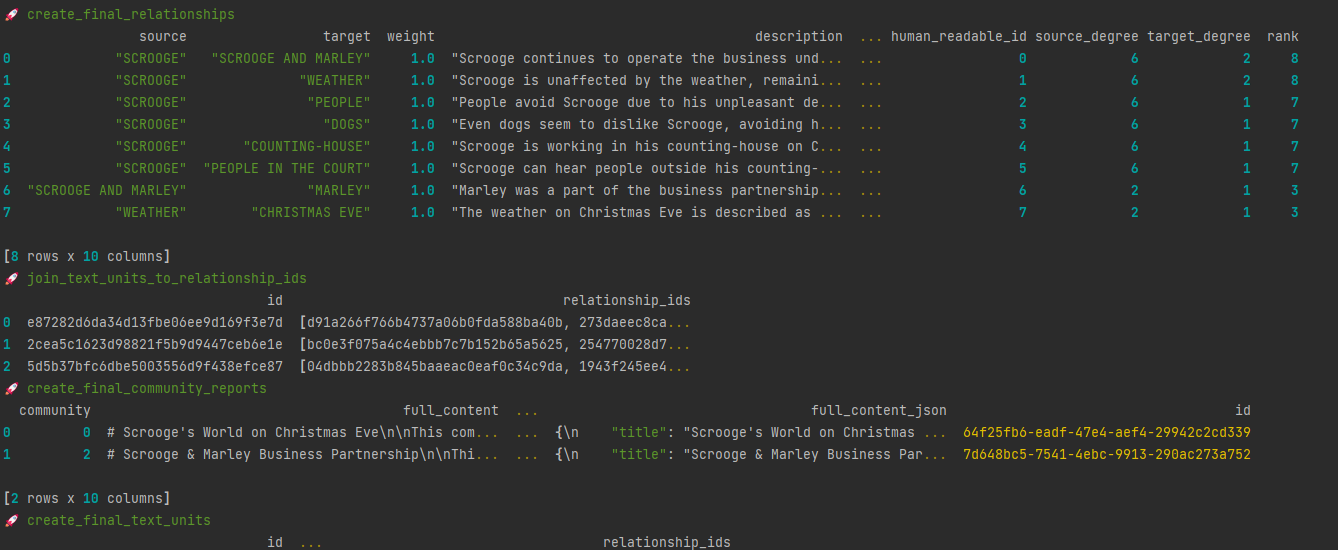
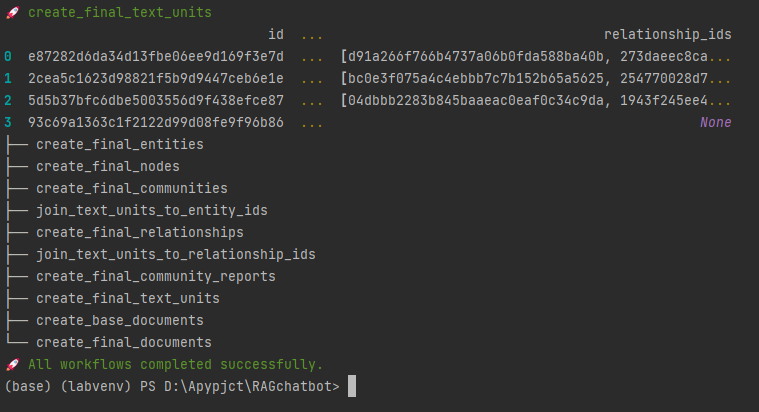
此时已经完成训练。